How we Migrate from WordPress to Webflow at BORING: Step-by-Step SEO Checklist
Switching platforms is always a risk. But with the right preparation, migrating from WordPress to Webflow doesn't have to cost you your rankings. This guide walks you through every step of the site migration SEO process, from your pre-migration SEO audit to post-launch monitoring, so nothing gets lost in the move.

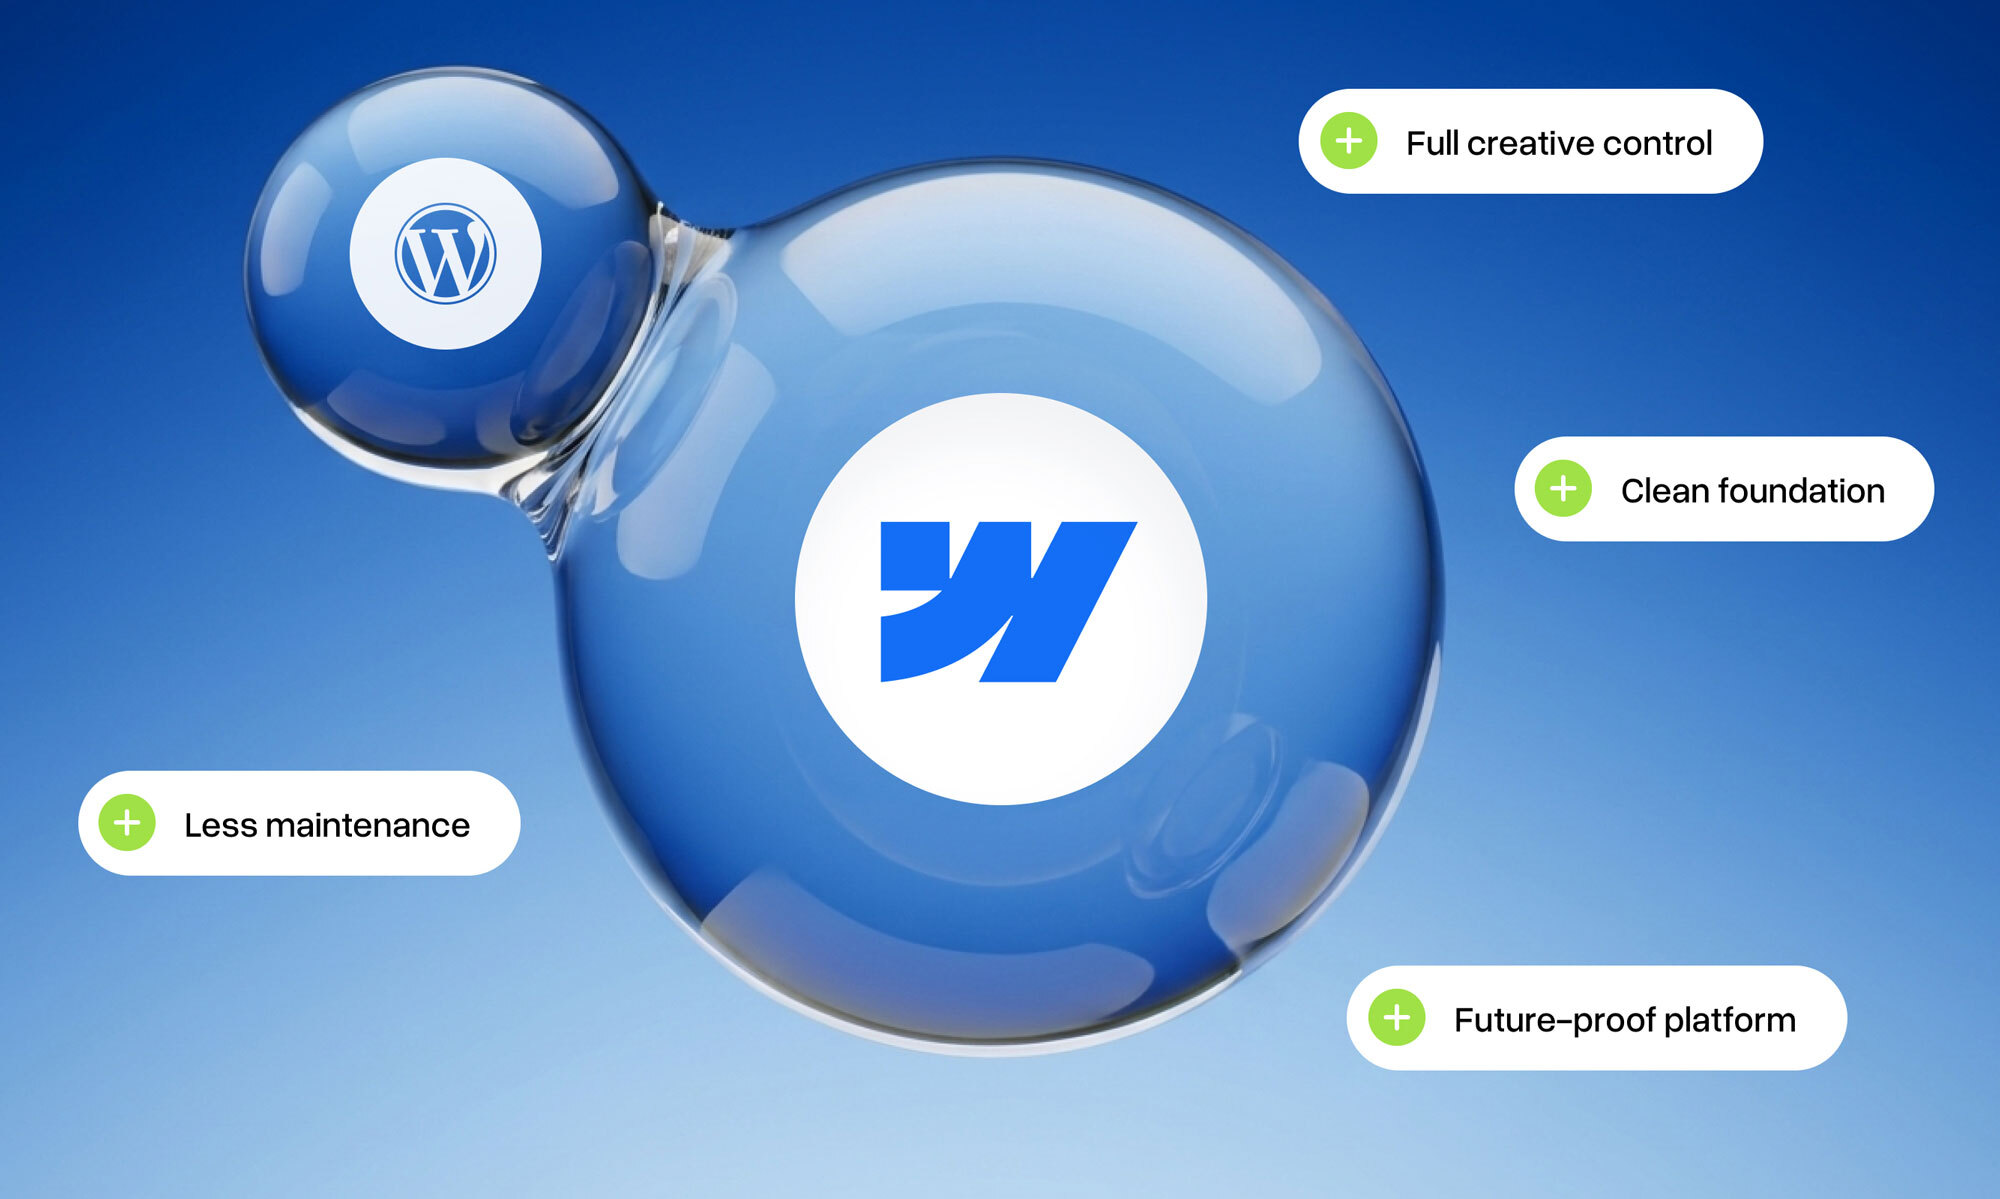
Why migrate from WordPress to Webflow?
WordPress powers a large part of the internet — but that doesn't mean it's the right tool for every website. For many growing businesses and agencies, it has become a system that requires constant maintenance: plugin updates, security patches, performance fixes. As your site grows, managing WordPress plugins becomes a project in itself. The platform works, but it creates overhead that takes time and budget away from the actual product.
Webflow approaches web development differently. Design, Webflow CMS and hosting live in one environment, which means fewer dependencies and more direct control. You build what you see, without needing a developer for every small change. That makes it a particularly attractive choice for teams that want to move fast without losing quality – and from an SEO perspective, Webflow has a clear edge too.
The shift from WordPress to Webflow is also a strategic one. It's about choosing a platform that is built around the end result: a fast, well-designed website that you can actually manage yourself. For many organizations, that's a meaningful step forward.
What does a WordPress to Webflow migration actually involve?
Migrating from WordPress to Webflow is not a one-click process, but it doesn't have to be overwhelming either. The scope depends on the size of your current site: a clean five-page website can be migrated faster than a large site with hundreds of blog posts, custom functionality and deep integrations. Knowing what you're dealing with upfront saves time, budget and surprises down the line.
Complexity is mostly driven by three factors:
- The volume of content that needs to be transferred.
- The number of integrations your current site relies on.
- How much of the visual design is being rebuilt versus carried over.
The cleaner your WordPress setup, the smoother the migration. If your current site is held together by dozens of plugins, that's worth addressing before you start. Whether your site is simple or complex, having an experienced team handle the migration ensures nothing is missed, especially when SEO is on the line.
What to do before you start: pre-migration SEO audit
Before you touch a single page, you need a clear picture of what your current site is worth from an SEO perspective. Moving without this baseline is how sites lose rankings they spent years building. A thorough audit covers:
- Every URL that receives organic traffic
- Your top-performing pages and the keywords driving results
- All existing metadata: page titles, meta descriptions, header tags and canonical URLs
- Your internal linking structure
- Any backlinks pointing to your current URLs
If your site relies on WordPress plugins for SEO (Yoast, RankMath, etc.), note which settings and configurations need to be manually replicated in Webflow before you start.
Tools like SEMrush, Screaming Frog, or Ahrefs can crawl your entire site and export everything you need in one go. This export becomes the foundation of your redirect planning. If your URL structure changes (even slightly!) you need to know exactly where redirects are required before launch, not after.
Step 1: Map your URL structure and plan redirects
Your URL structure is the backbone of your SEO. Before migrating, export a full list of every URL on your WordPress site and map out what the equivalent URL will be in Webflow. If the structure stays the same, great. If it changes every affected URL needs a redirect plan in place before you go live.
The goal is to make sure no page with existing traffic, backlinks or ranking simply disappears. A missing redirect means a 404 error, and 404 errors mean lost rankings and a poor user experience. This is one of the most common causes of SEO drops after a migration.
Build your redirect map in a simple spreadsheet: old URL in one column, new URL in the other. Keep it organized by section (blog, product pages, landing pages) so nothing slips through. You'll use this file directly when setting up redirects in Webflow later in the process.
Step 2: Export and migrate your content
WordPress allows you to export your content as a CSV file, which covers posts, pages, categories and tags. It's a useful starting point, but it's not a direct import into Webflow. The export gives you the raw material, but you'll still need to structure it according to your Webflow CMS collections, and map each content type accordingly. Yes, this includes blog posts. In practice, for most pages this takes minutes rather than hours.
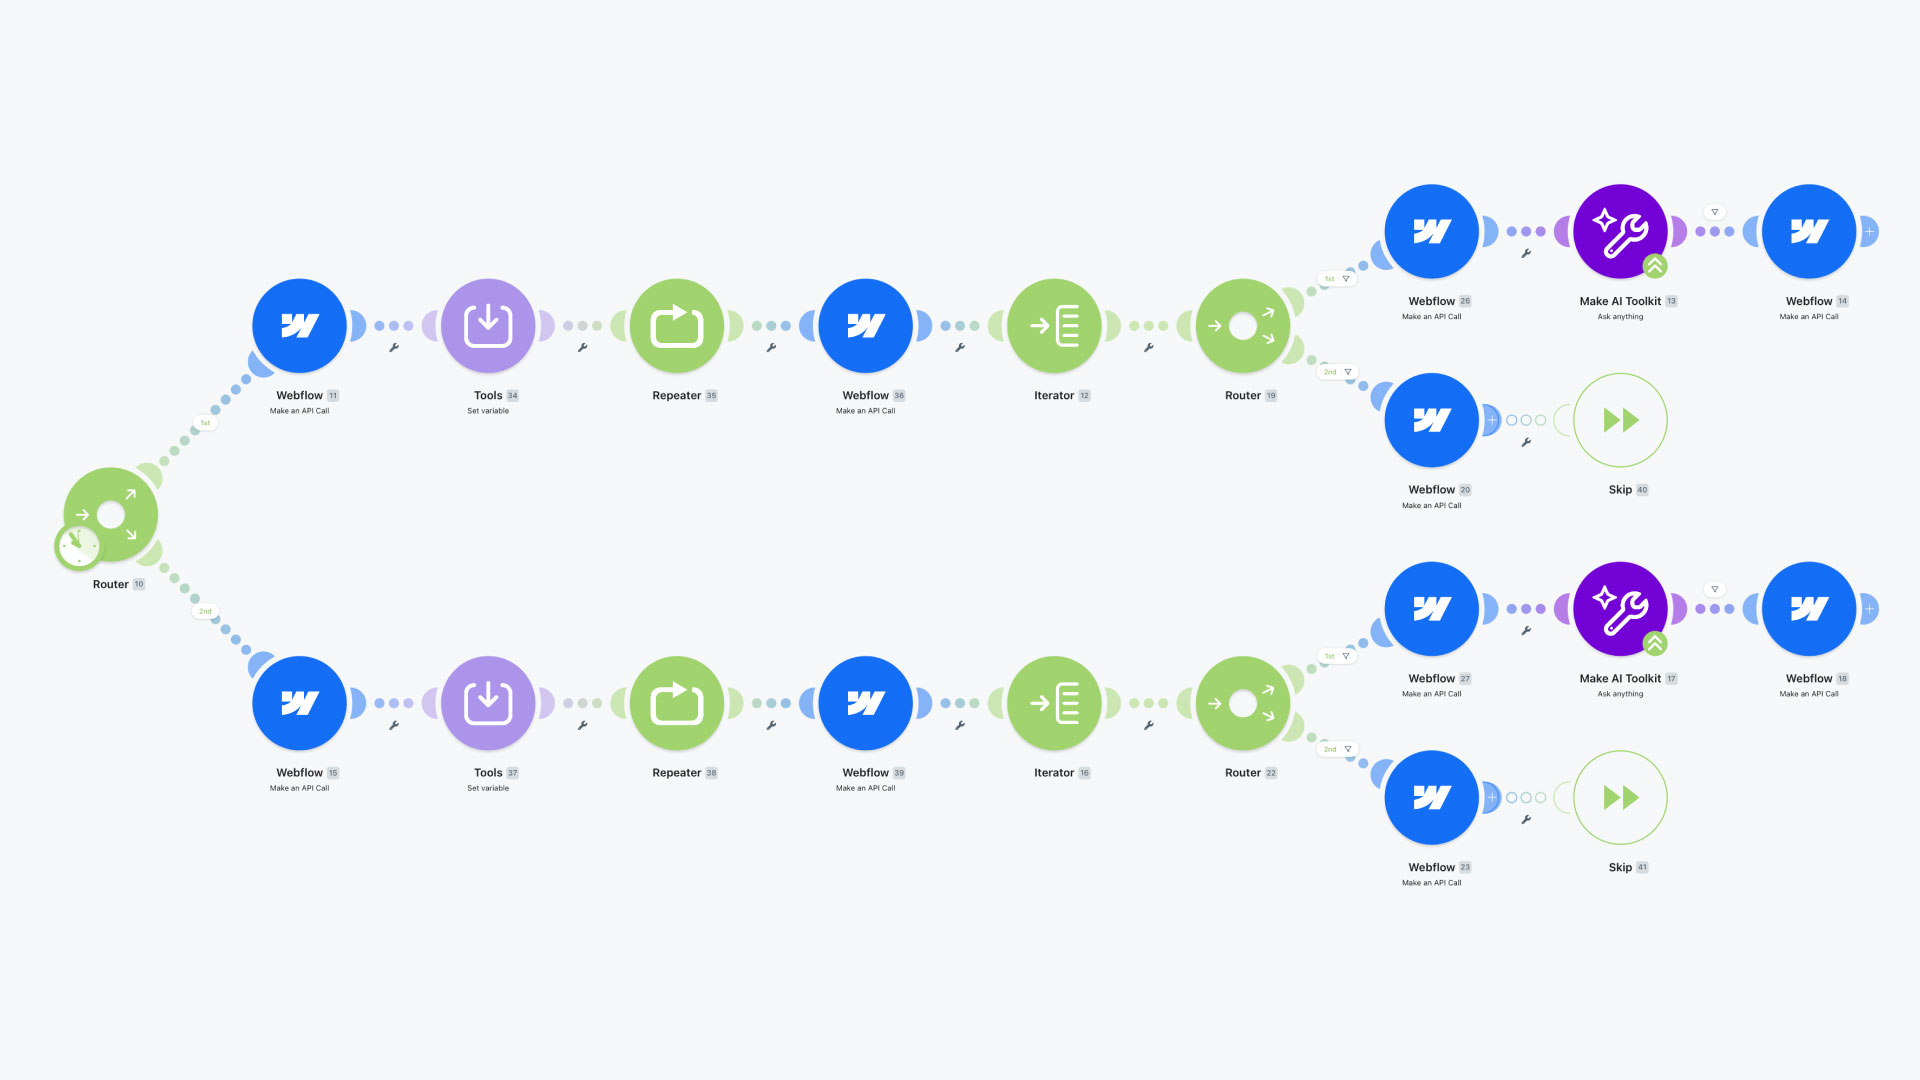
For smaller sites, migrating content manually is often the most reliable approach. It gives you the opportunity to clean up outdated copy, fix formatting inconsistencies and make sure everything looks right in its new environment. For larger sites with hundreds of posts, tools like CMS2CMS can automate parts of the process, though they still require careful review afterwards.
Pay close attention to content that lives outside your pages and posts: author bios, category descriptions, custom fields and embedded media. These are easy to overlook and often cause gaps in the migrated site. Work through your content systematically, section by section, and check everything against your original site before moving on.
Step 3: Rebuild your SEO foundations in Webflow
Webflow gives you solid SEO controls out of the box, but they don't populate themselves. For every page you migrate, you need to manually set the page title, meta description and Open Graph fields. You can also automate this process using a tool like Claude connected directly to Webflow via MCP, reducing what could be hours of work to a matter of minutes. If you're working with a CMS collection (for blog posts, for example), Webflow lets you build dynamic meta fields using your content variables, saving time and keeping things consistent at scale.
Header tag hierarchy matters too. Make sure every page has a single H1 that reflects the target keyword, followed by a logical H2 and H3 structure. It's easy for this to get lost during a visual rebuild, especially when designers are focused on layout rather than document structure. Check every page before it goes live.
Webflow also handles canonical URLs automatically, but it's worth verifying that no duplicate pages are being indexed. Check your site settings for any auto-generated pages (like empty collection pages or filtered views) and make sure they're either properly canonicalized or excluded from indexing altogether.
Step 4: Migrate and optimize your images and media
Images on static pages don't transfer automatically when you migrate to Webflow; every image needs to be exported from WordPress and re-uploaded to Webflow's asset manager. For CMS-managed pages, images stored in collection fields will carry over as part of the content migration. Either way, it's also an opportunity to clean up your media library – removing duplicates, renaming files properly and ditching anything that's no longer in use.
Before re-uploading, optimize every image for the web. Webflow has a built-in converter, but you should still aim to keep images under 750kb before uploading. Compress these files and convert to modern formats like WebP or AVIF, the result is usually a file size of around 50kb. Image weight is one of the most direct factors affecting page speed, and page speed directly affects your SEO rankings. Don't carry over bloated files from your old site.
Alt text doesn't migrate either, and every image needs a descriptive, keyword-relevant alt text. Webflow’s built-in AI can help generate alt text, which speeds up this step considerably. This is both an SEO consideration, and an accessibility requirement. Work through your images systematically and treat this step as part of your content migration.
Step 5: Set up 301 redirects
301 redirects tell search engines that a page has permanently moved to a new URL. Without them, any page that changes address during the migration becomes a dead end, losing its rankings, its backlink value and the traffic that came with it. This is not an optional step.
Luckily you don’t have to add these redirects one-by-one. Webflow allows you to upload redirects in bulk via CSV, which saves significant time on larger migrations.
Redirect chains happen when URL A redirects to URL B, which redirects to URL C. Each hop dilutes link equity and slows down page load. If you're migrating from a site that already has redirects in place, clean them up now. Every redirect should go directly from old to new in a single step.
Step 6: Connect your domain and configure DNS
Once your Webflow site is ready to go live, you need to point your domain to Webflow's servers by updating your DNS settings. This is done through your domain registrar (GoDaddy, Namecheap, Cloudflare, or whichever provider you use). Webflow's documentation walks you through the exact records you need to add, typically an A record and a CNAME record.
Before you switch over, do a final check of your Webflow staging environment. Confirm that all pages load correctly, redirects are working and your SSL certificate is active. Webflow hosting includes free SSL automatically, but it needs to be verified once your domain is connected.
Step 7: Submit your new sitemap to Google
Webflow automatically generates an XML sitemap for your site, which you can find at yourdomain.com/sitemap.xml. Once your domain is live and DNS has propagated, submit this sitemap to Google Search Console. This tells Google exactly which pages exist on your new site and speeds up the process of getting them indexed.
Keep an eye on the Coverage report in Search Console over the first few weeks after launch. It will show you which pages have been indexed, which are being crawled and whether any errors have appeared. This is your early warning system for anything that didn't transfer cleanly.
Post-migration SEO checklist: What to monitor after launch
Going live is not the finish line. The first few weeks after launch are critical for catching anything that didn't transfer cleanly and making sure Google is processing your new site correctly. Set up a simple monitoring routine and stick to it:
- Google Search Console. Check the Coverage report for crawl errors, monitor your index status and watch for drops in impressions or clicks. A dip in the first week is normal. A sustained drop after two weeks needs attention.
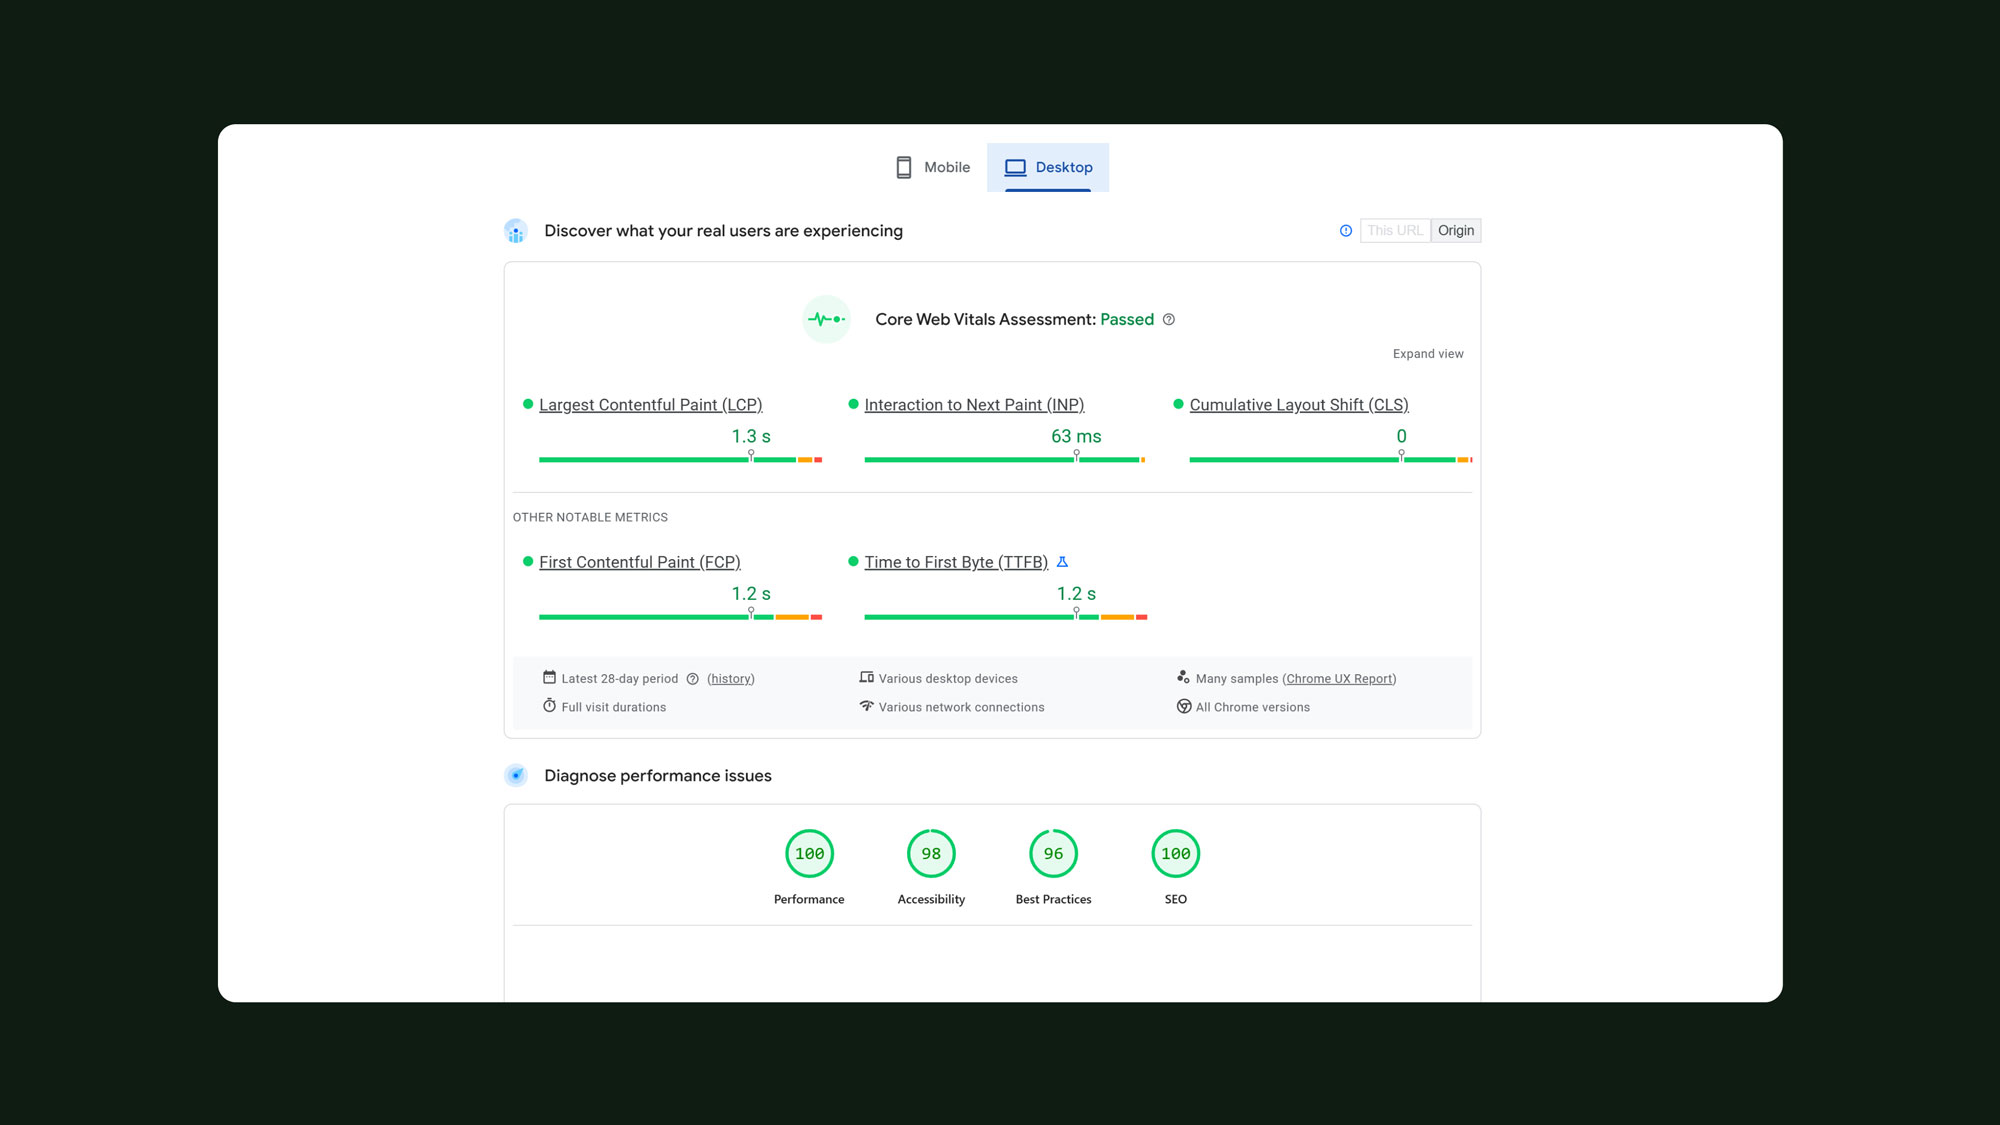
- Core Web Vitals. Webflow performs well out of the box, but heavy images, custom interactions and third-party scripts can affect scores. Use PageSpeed Insights to identify underperforming pages early.
- Redirect validation. Keep a close eye on your key redirects to confirm they're resolving correctly and not creating chains.
Common WordPress to Webflow Migration Mistakes to Avoid
The details are what make or break a migration. These are the mistakes that cause the most damage:
- Rushing the go-live. A site that looks good with broken redirects, missing metadata and unoptimized images will lose rankings quickly – especially if your WordPress setup relied heavily on plugins for functionality that now needs to be replicated in Webflow. Work through your pre-launch checklist without shortcuts.
- Overlooking secondary content. Author bios, category pages, tag pages and custom post types are easy to miss. If they had traffic or backlinks, they need redirects and need to be rebuilt in Webflow.
- Assuming Webflow handles SEO automatically. The platform gives you the tools, but the work still needs to be done. Every page needs its metadata, every image needs its alt text and every redirect needs to be tested. The migration is only as good as the attention put into it.
Final thoughts: Is migrating from WordPress to Webflow worth it?
For most growing businesses, the answer is yes. WordPress is a capable platform, but it comes with ongoing maintenance, plugin dependencies and performance overhead that adds up over time. Webflow removes much of that friction and gives you a faster, cleaner and more manageable website as a result.
The migration itself requires careful planning, but it doesn't have to be risky. With a solid pre-migration audit, a complete redirect map and a structured approach to rebuilding your SEO foundations, you can move to Webflow without losing the rankings you've worked to build.
Most SEO losses during migration are avoidable. Need to be sure this doesn’t happen to you? At BORING, we will make sure it won’t. Send us a message and we’ll see what we can do to help.
Further reading


Check it out